Who doesn't know this problem!? You want to build an interesting fire truck as a 1:24 or 1:25 scale model, you get hold of one of the relatively rare kits, from Revell, Italeri or the first Fire Truck from Trumpeter, and then? When these models are almost finished, you are stuck, so to speak. There are no hoses to buy, and the shoelaces that many people favour have a fabric structure that is too coarse and are too thick when folded.
So I tried, tinkered, cut and glued, tested the most varied materials, and in the end I had a solution. Maybe it is the solution, at least I never came up with another idea.
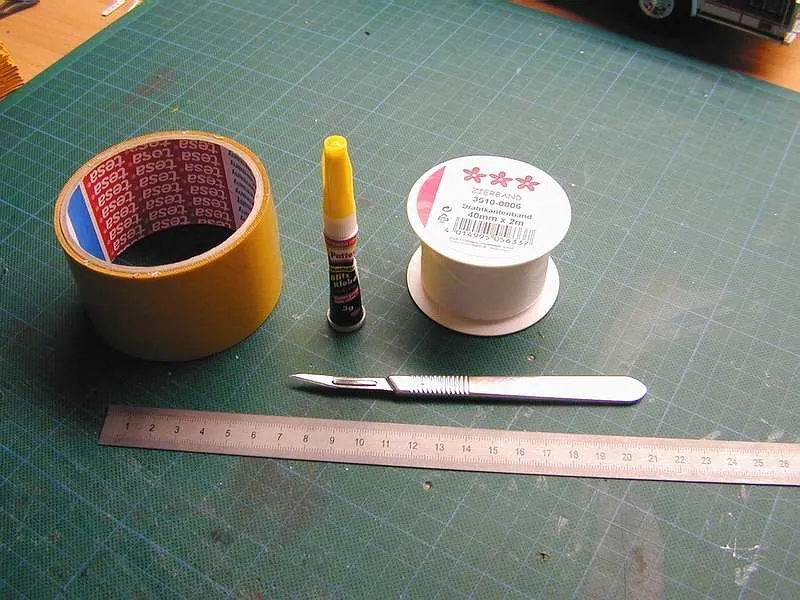
If you want to try my idea, you will need the following materials and tools: a scalpel or another razor-sharp tool, a metal ruler, double-sided carpet tape, superglue and, most importantly, the hose fabric. Here I used a decorative ribbon like those found in the gift wrap and greeting card sections of department stores.
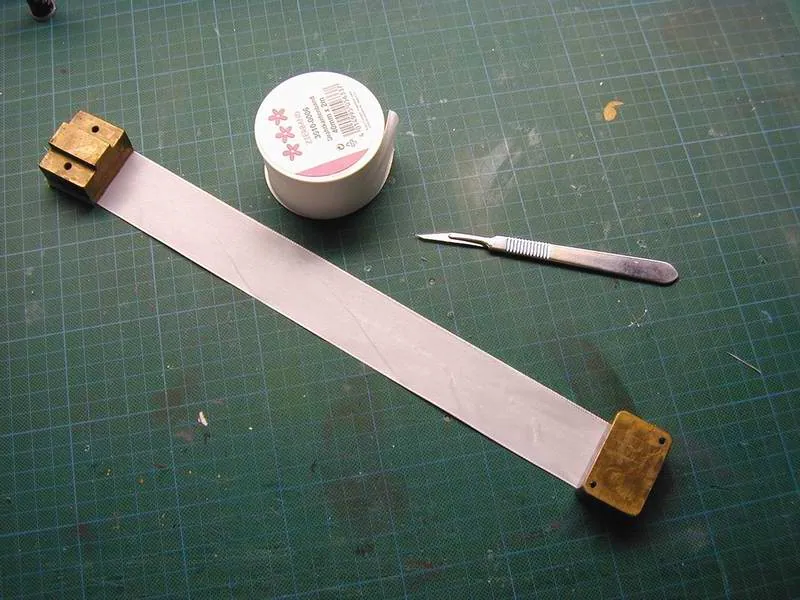
First, cut a piece of ribbon about 30 – 40 cm long and weigh it down at both ends. This is necessary, otherwise the strip will roll up inwards again.
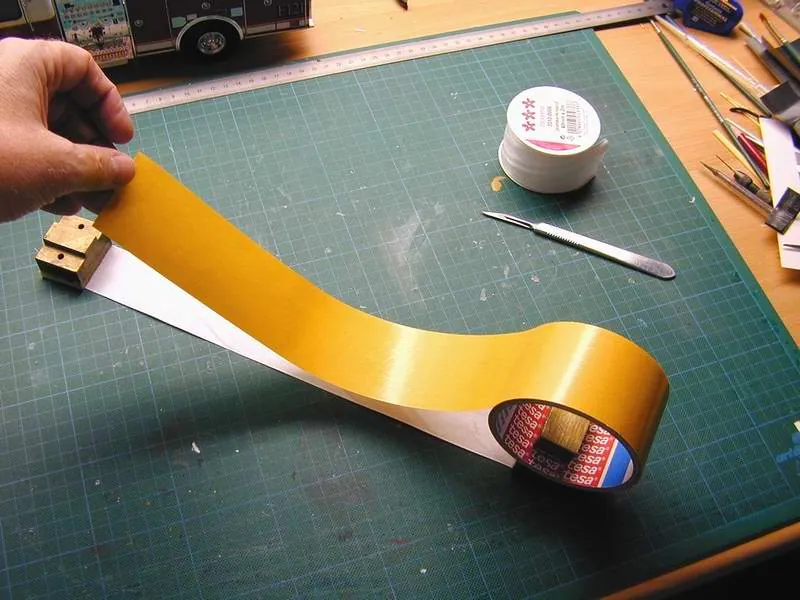
The double-sided carpet tape is then laid onto this strip and, very importantly, smoothed out from the middle towards both sides.
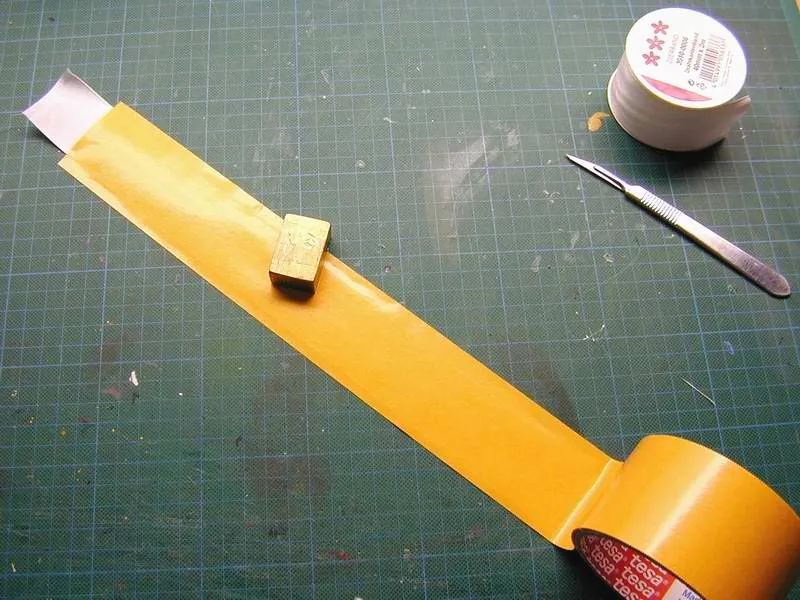
Bubbles and wrinkles should be avoided at all costs.
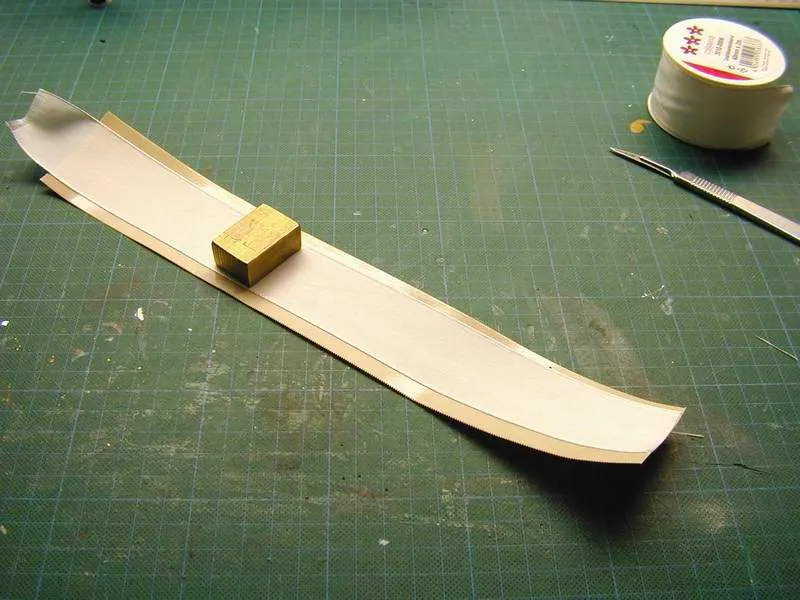
Then the strip of adhesive and decorative tape is turned over and ironed smooth once more from the other side.
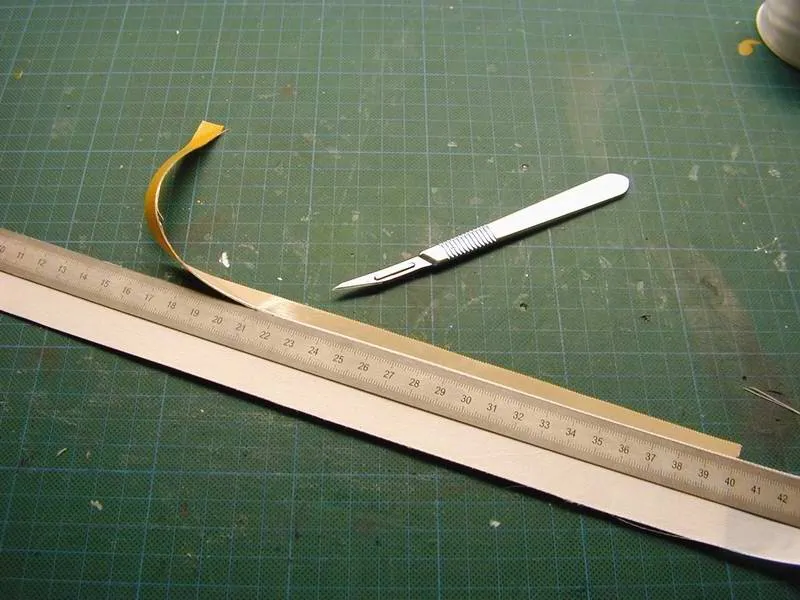
Since the double-sided tape is wider than the decorative ribbon, the overhanging areas on both sides must be cut off.
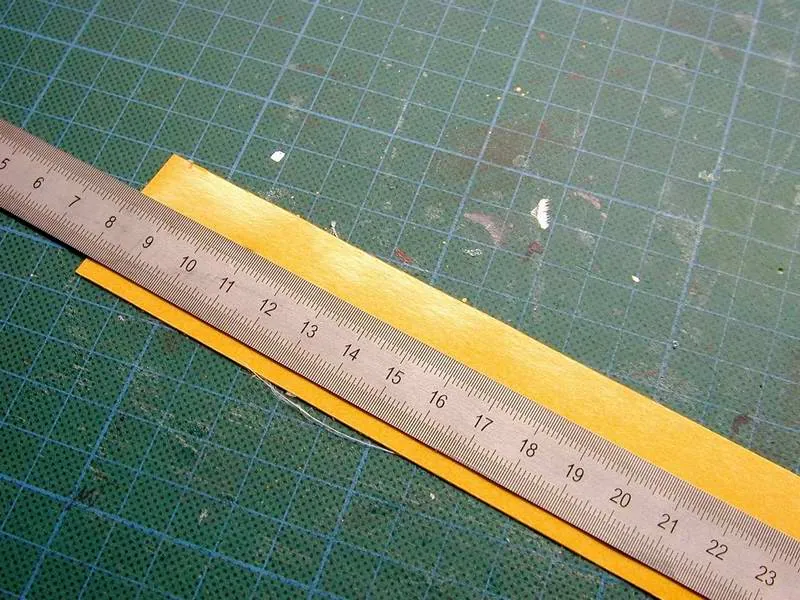
Because the Trumpeter model has four hoses side by side in compartment 3 and each hose is 6 mm wide, several strips about 12.5 mm wide are now cut from the combined adhesive and decorative tape.
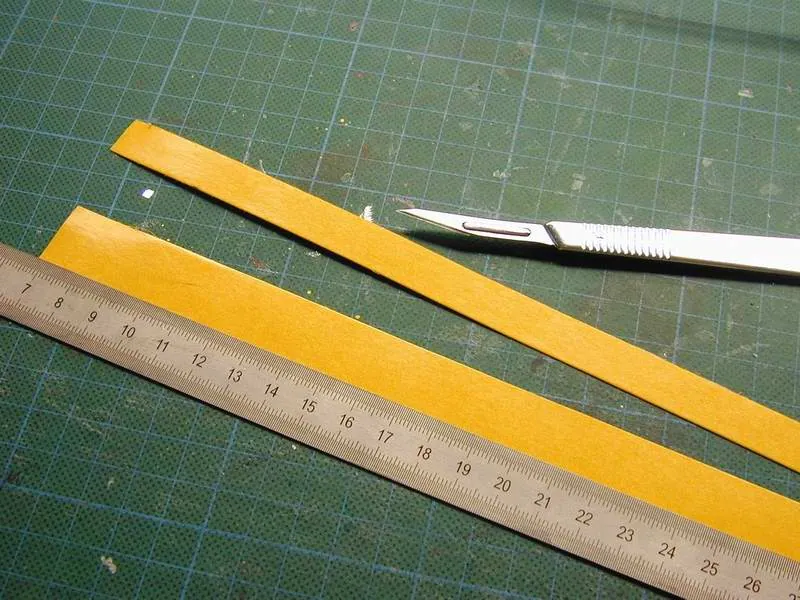
Now the actual making of the hoses begins, of course as an imitation in the folded state.
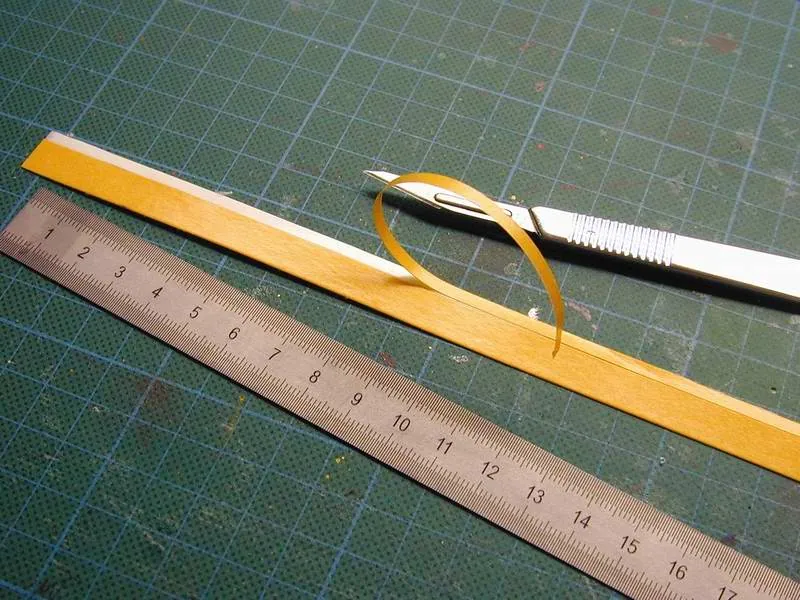
To do this, a piece of the backing paper about 3 mm wide must be removed from one side of the strip. Caution: do not press too hard with the scalpel; the cut must go only through the paper, not through the adhesive tape.
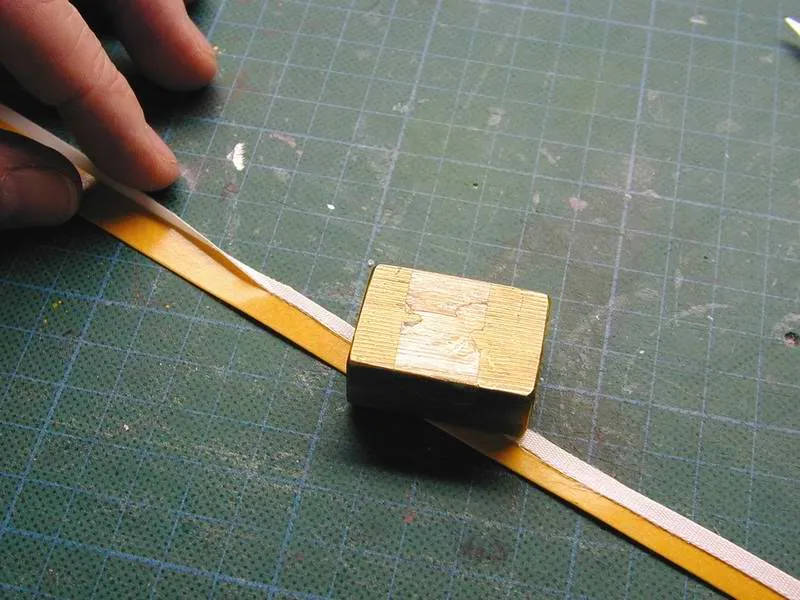
With a smooth, preferably heavy object, the 3 mm wide paper-free area is folded inwards.
Pre-bend it with your finger, break it at the edge of the paper and then press it down hard with the metal block, or iron it flat.
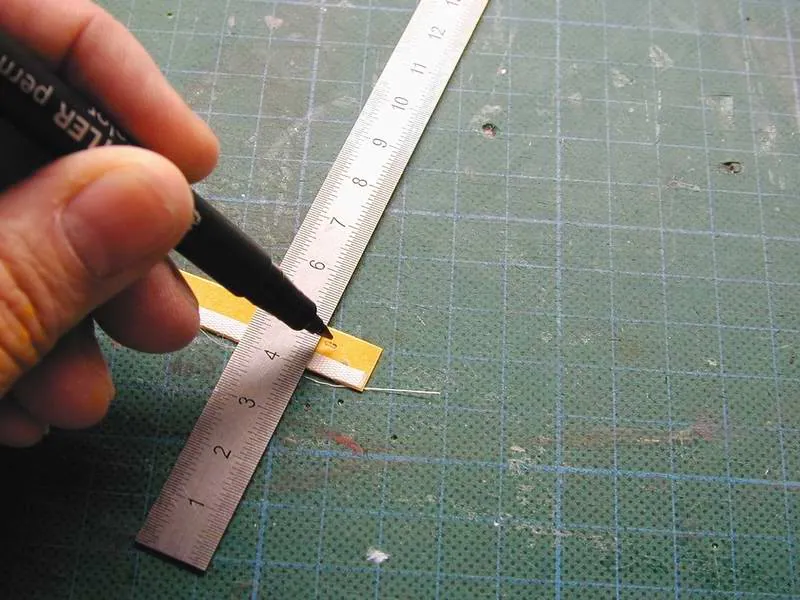
This process is repeated on the opposite side.
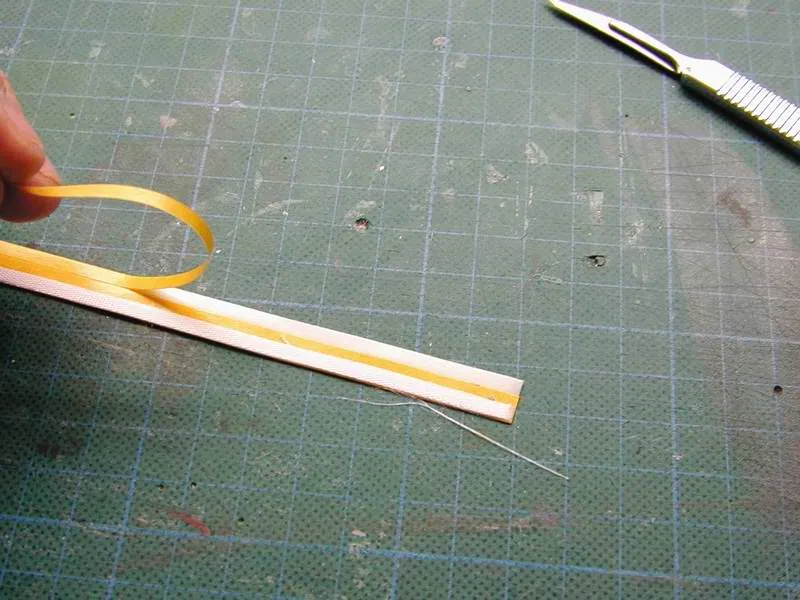
Remove the backing paper …
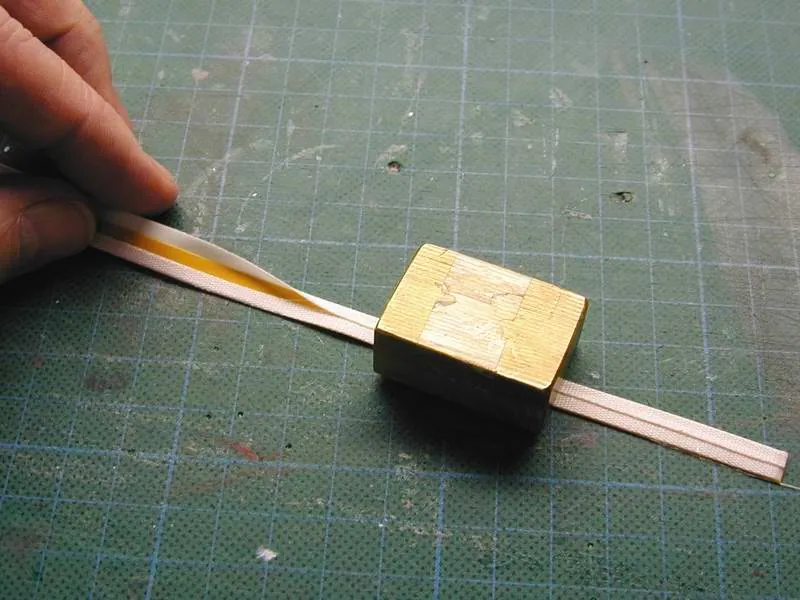
… crease slightly with your finger and press down with a metal block. Press down strips that are already prepared every now and then, as the adhesive tape tends to stand up or detach from the paper.
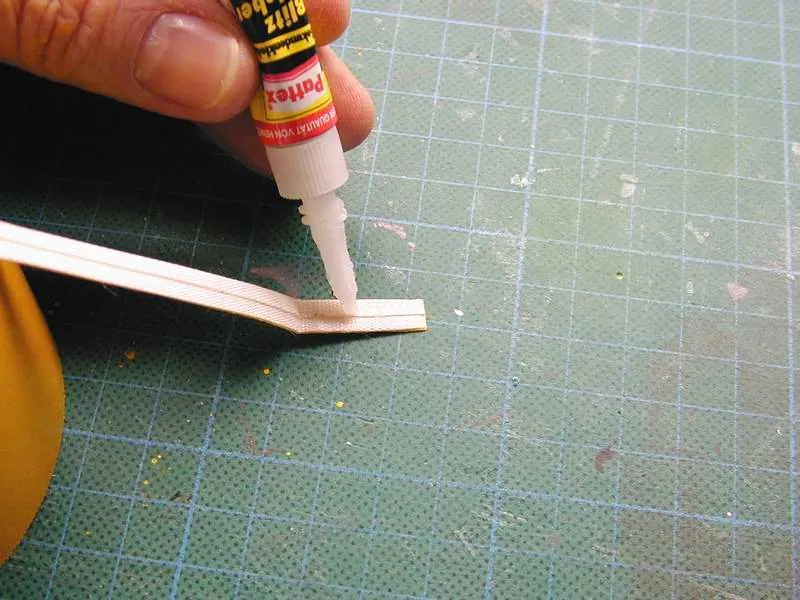
Now the folds are made that will later represent the folded hose. How big they should be is up to you, or depends on the particular model and how the hoses are stowed. One drop of superglue is enough; press together for about 10 – 15 seconds, done.
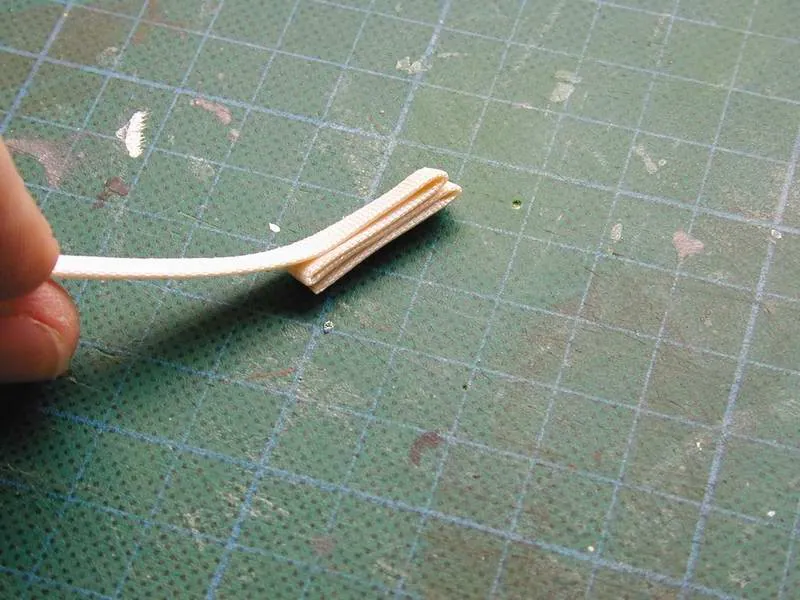
Not only kinked or folded: the hoses can of course also be shown rolled up.
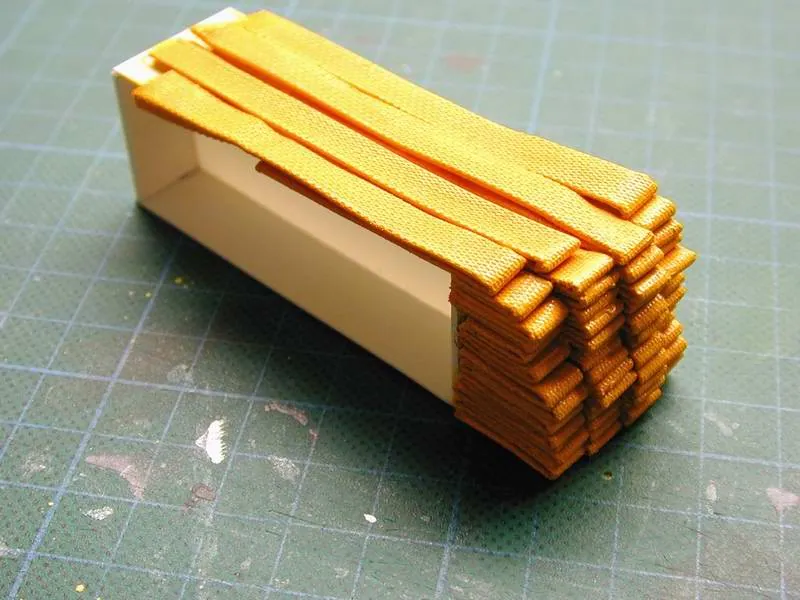
Since most of the hoses on the model cannot be seen at all, I built a hose box, or dummy, for my Trumpeter Engine 121. Only the ends and the top two layers are visible here.
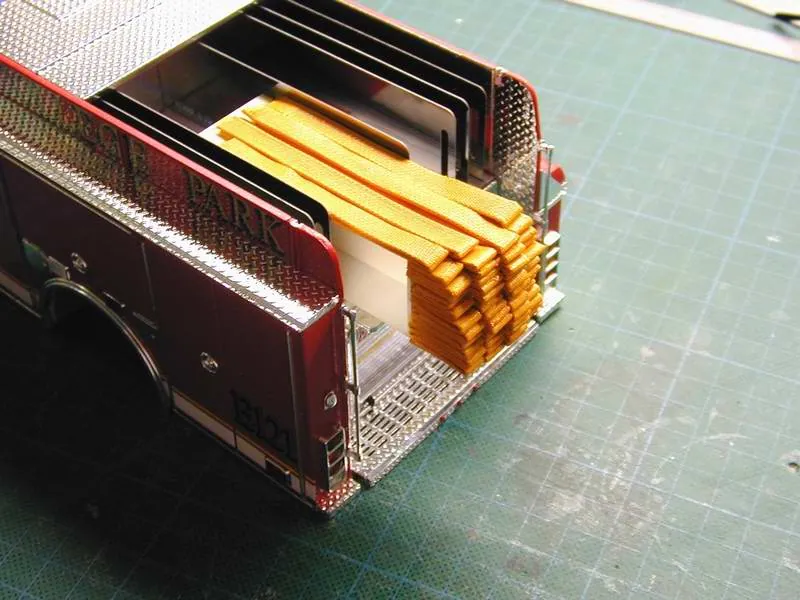
Showing all the hoses would have been too much work even for me, and it wasn't necessary in this case. All hoses were then painted twice with Revell colour 310 – Lufthansa yellow.
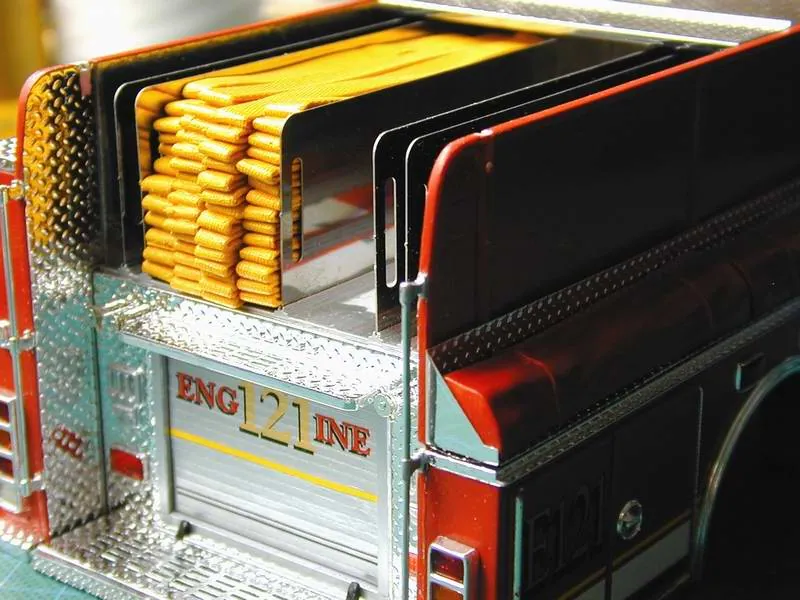
Finally, the box is pushed into the hose compartment and glued in place.
It works, doesn't it?
Have fun gluing hoses!